
Using Photoshop for Etsy product photos may sound like overkill. But with the marketplace as competitive as it is, only the best possible product photos and imagery will suffice. And if you’re selling digital products, Photoshop is practically a necessity.
The not-so-good news: Whether you’ve only used it a few times or none at all, using Photoshop for Etsy images has a steep learning curve.
The actually, pretty good news: There’s a wealth of information out there about using Photoshop for just about anything, including your Etsy images. So don’t be intimidated!
In this article, we’re going to go over all the different things you can use Photoshop for in your Etsy store. Each section will have an explanation as to why it’s important for your business, and some more information in the form of a video or a link to another article.
Let’s get into it!
Why use Photoshop?
Photoshop is a powerful image editing suite, used by a wide range of professions for a variety of purposes. It’s so widely-knowing that the word ‘photoshop’ has become a verb in the English language. And when it comes to using photography for digital marketing and showcasing your products, Photoshop is the standard for editing software.
Sure, there are a vast amount of Photoshop alternatives and some that may be better suited for some Etsy users. However, few compare to what you can accomplish with Photoshop. So stick around and you may be surprised with what you can learn!
For the sake of this article, we’ll stick to explaining Photoshop for Etsy users. Now, enough of the intro and on with the article.
1. Use Photoshop for Etsy to remove the background from product photos
Removing the background from your Etsy photos can be super useful for your main product image.
Sometimes the best form of product photography is just your product with a clean white background, the same way we see a lot of Amazon product photos.
That’s because there are no distractions – it’s just your product and absolutely nothing else. This prevents confusion and helps the customer know exactly what they’re going to get.
But, even with the best white background, sometimes there’s still a bit of editing needed. If you’re looking for that perfect white background but your lightbox just ain’t cutting it, you may be better off removing your background entirely with Photoshop.
So, check out this fantastic guide on removing the background from your Etsy photos with Photoshop:
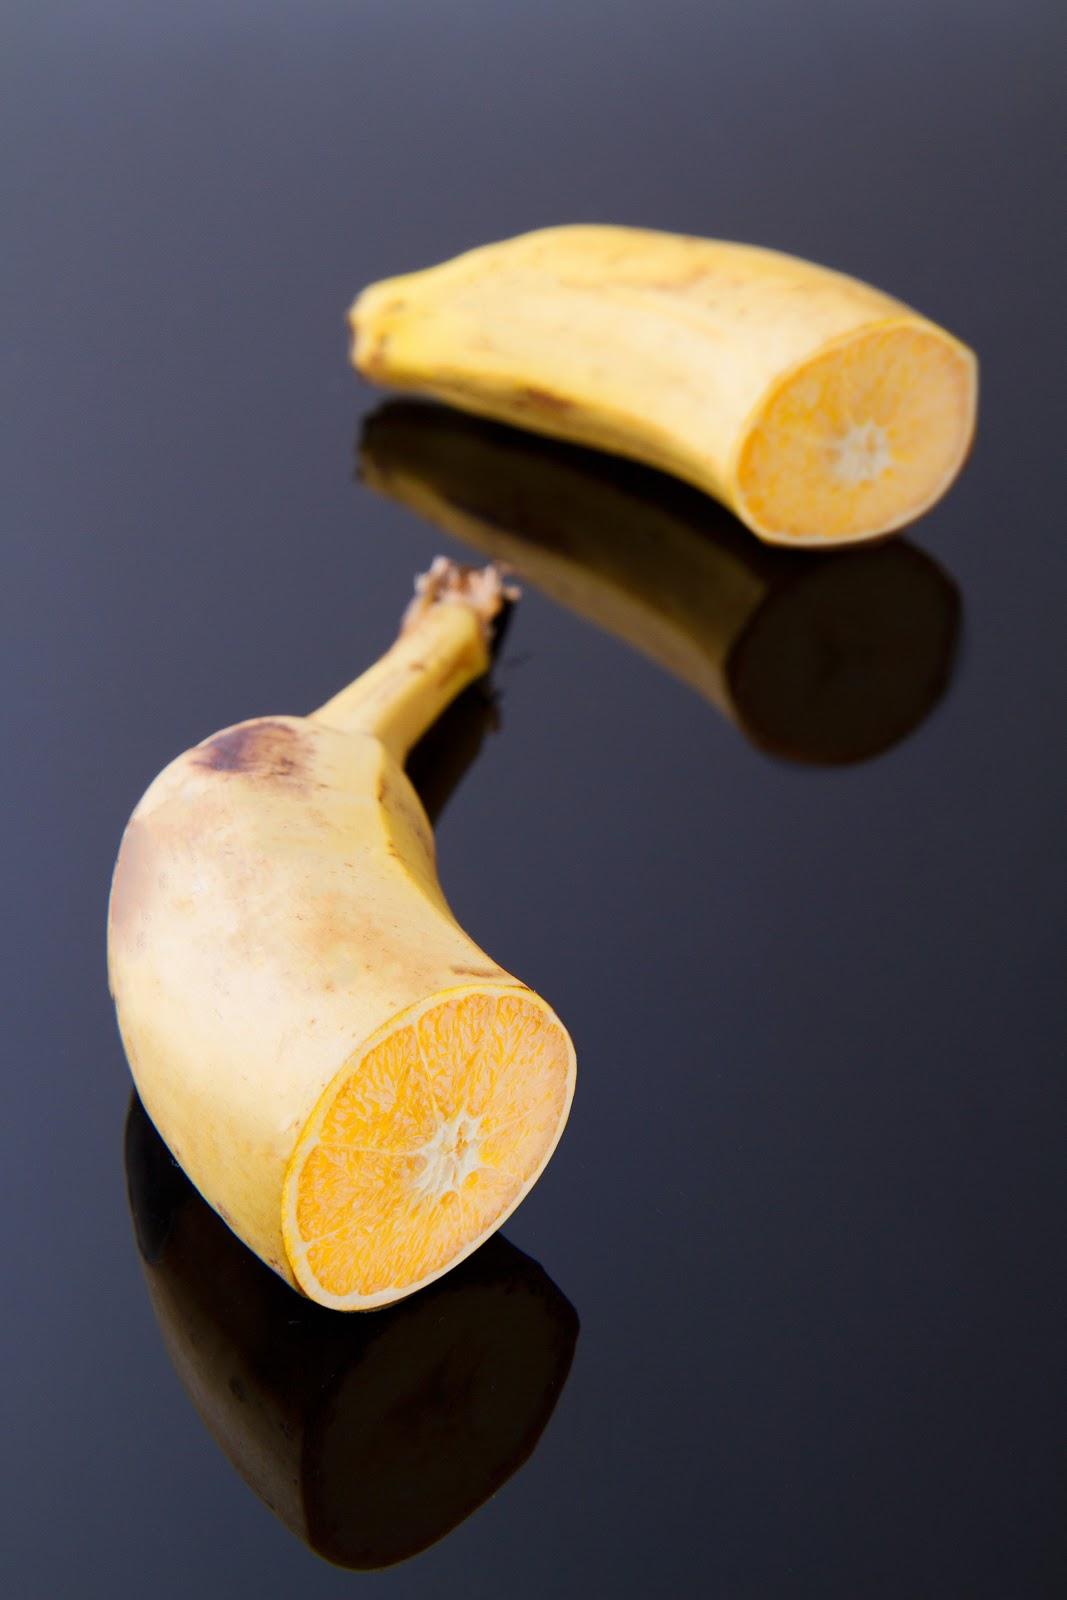
2. Use Photoshop for Etsy to match color temperature between product photos
Maybe you sell products that come in varying colors. Or, maybe you may take photos of your products in multiple areas, both indoors and out. Either way, when the content and setting of your photo varies, the color temperature (also known as white balance) can vary between each product listing. Luckily, using Photoshop, you can easily improve the white balance of your photos.

Think about it, using a consistent color temperature for your product listings can go a long way for establishing that shop aesthetic you’ve been looking for! You know what we’re talking about, it’s like giving your whole shop a cool pair of amber lens sunglasses 😎
For this tutorial, you can leave your Instagram filters at home. To match color temperature between your photos, here’s how you can do it with Photoshop:
3. Use Photoshop for Etsy to adjust the background color of your product photos
We’ve all been there before. The background of your product photos just doesn’t match from listing to listing. Maybe you tried to line up your shots with the same lighting and it just didn’t work. Or maybe you’re looking to get funky with your listings! If so, you can drastically change the color of your background with photoshop, if that’s your jive! 🦃

Adjusting the background of your image is pretty similar to removing the background completely. Only this time, rather than removing it, you can add a splash of color! Here’s an in-depth guide on adjusting the color of your image background in Photoshop for Etsy.
4. Use Photoshop for Etsy to clean up blemishes
No matter how good you set your photo up, it might not always translate into the digital realm as perfect as you expect. Dust, lighting, screen size, there are lots of things that can make the raw image of your product not as perfect as you thought.
Luckily, photo touchup is what Photoshop does best.
Here’s an image of a ring in a jewellery box.
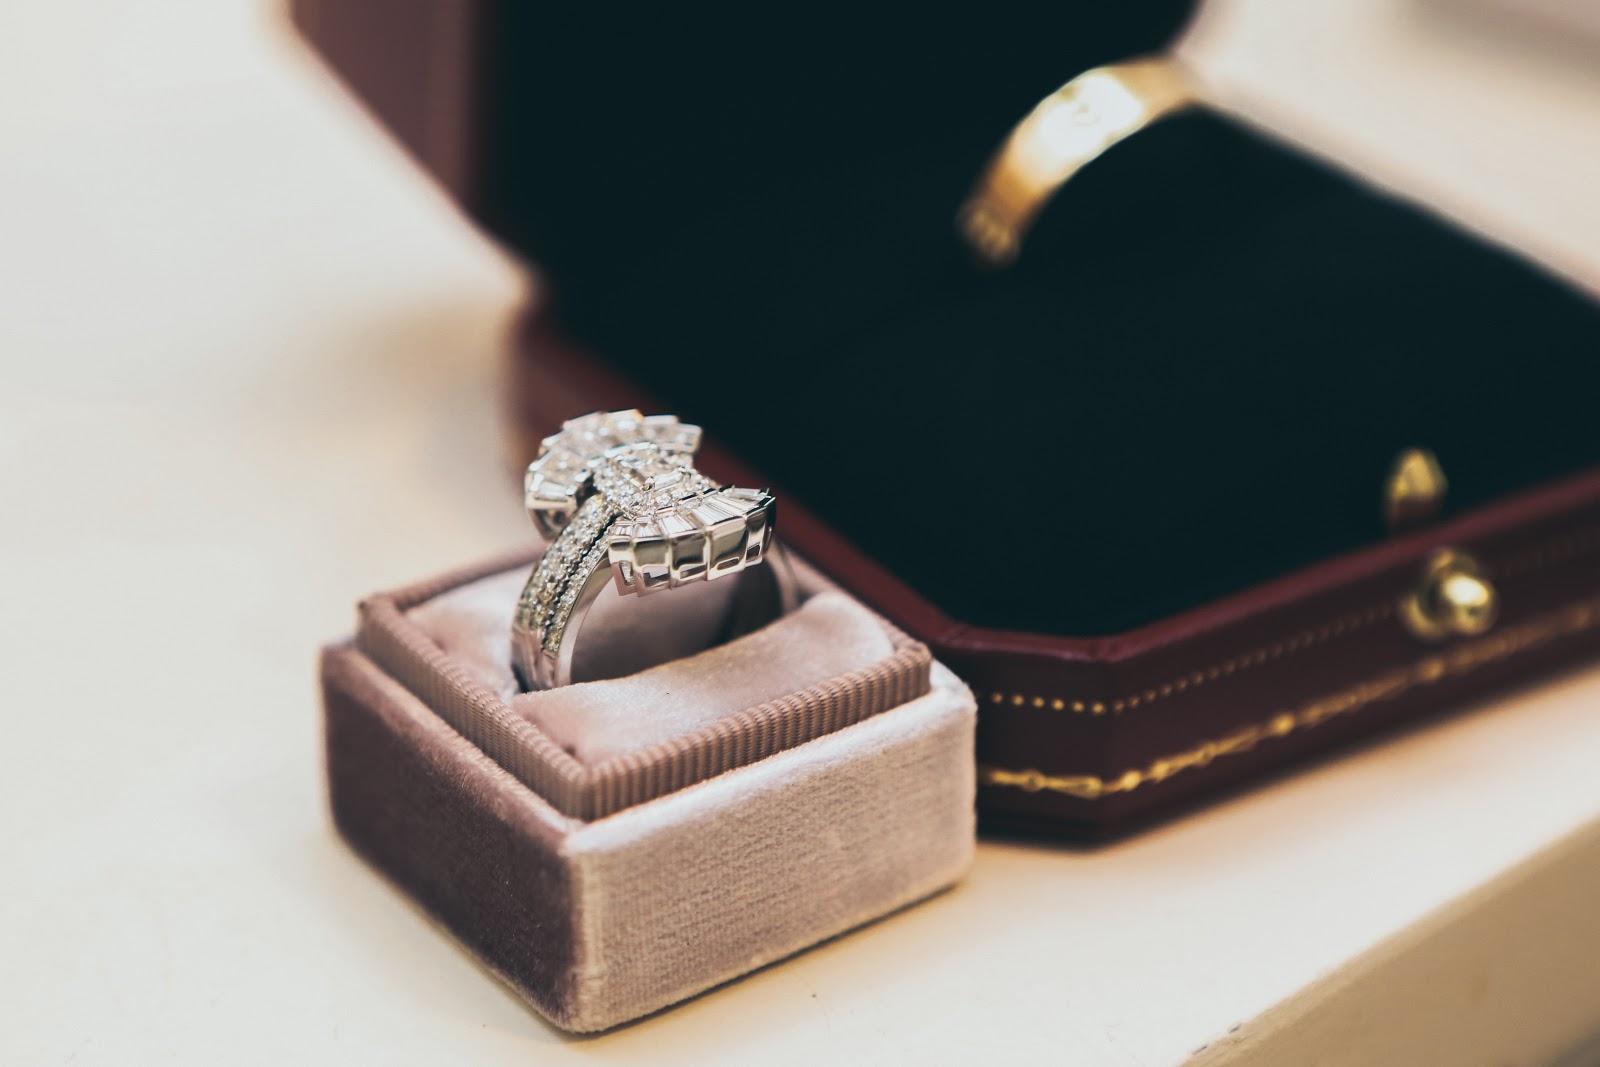
It looks good, but it could look a little better.
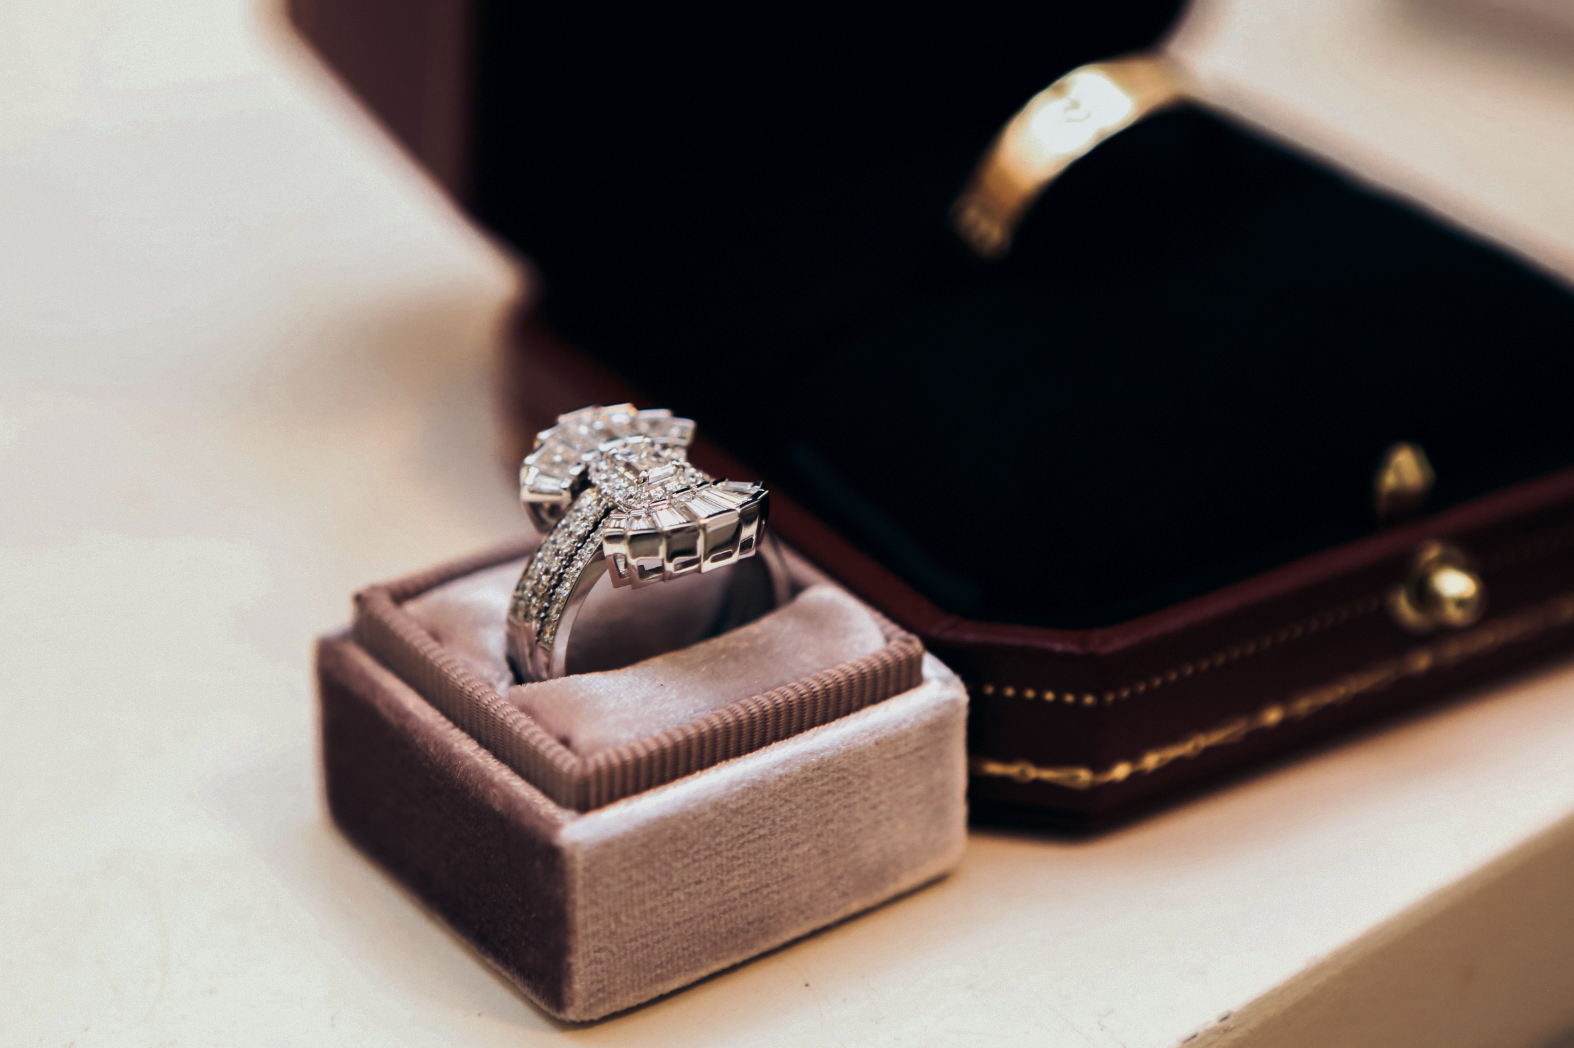
With a little touching up of the blemishes on the boxes, and a few other changes, we’ve managed to make a good picture look fantastic:
Here’s a quick guide to use Photoshop to retouch little blemishes.
Protip: Do not use this feature to falsely advertise your products. It’s just not cool. Don’t do it!
5. Use Photoshop for Etsy to overlay mockups and graphics
Looking to add a little more creative flair? Photoshop can be used to edit two images together, which is probably what it’s most widely known for.
Now, back to the tutorial.
For Etsy images, you can use this feature to add to your product listings:
- Brand logos
- Borders
- Return and warranty information
- Your graphic design to clothing and other accessories
As you can see, you can overlay just about anything onto whatever using Photoshop – the limit is your imagination! Remember this for your next family Christmas card 😉
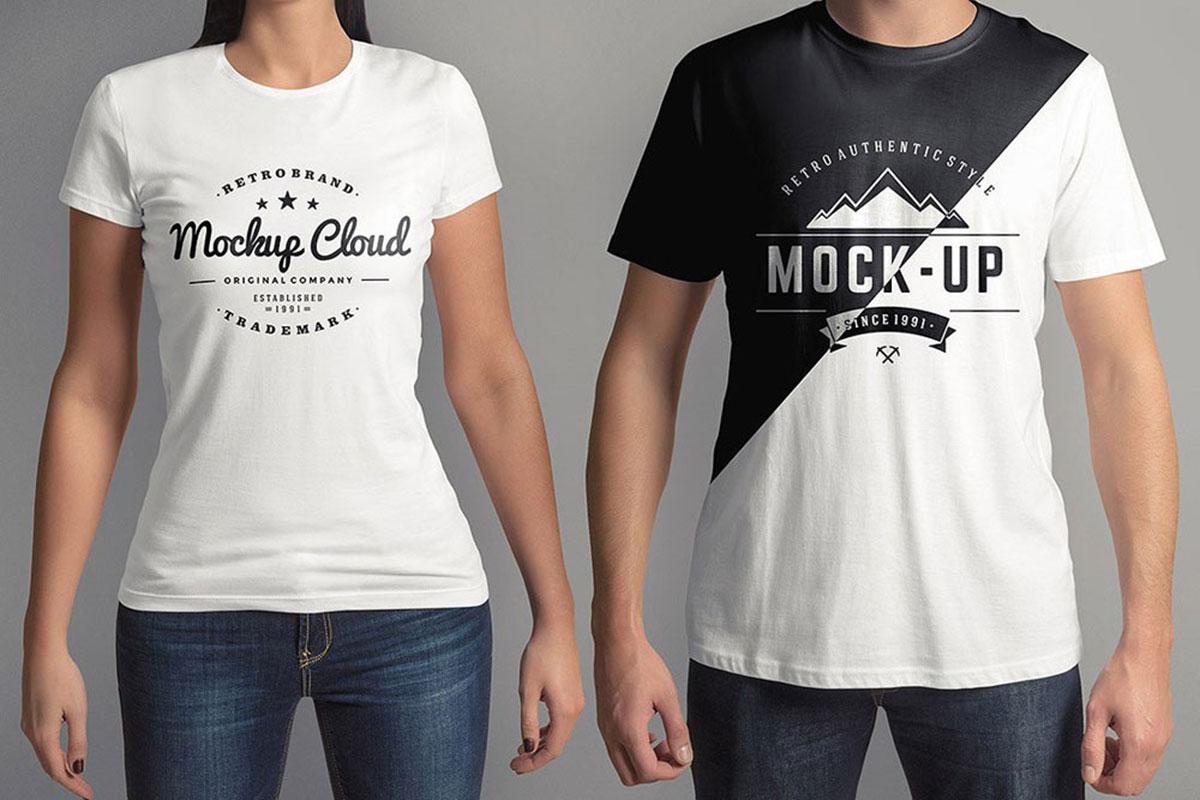
Check out this fantastic guide to using mockups in Photoshop for Etsy.
6. Use Photoshop for Etsy to creatively display product images
Perhaps you want to get a lifestyle shot of all your products together alongside your eCommerce packaging, but you don’t have all your products on hand to make the shot happen. Photoshop can be used to pull out your products from multiple photos and splice them all into one!
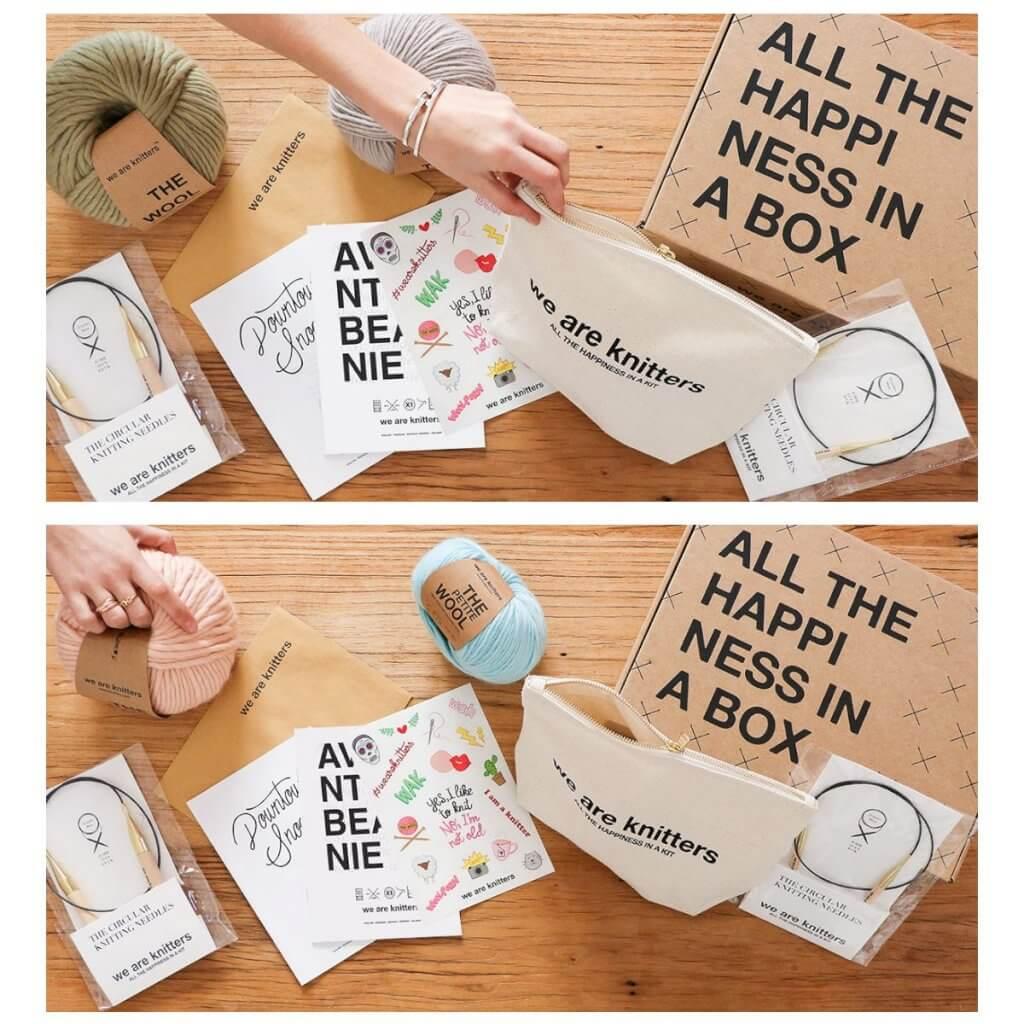
On the other hand, you can use Photoshop to take your product and place it somewhere else. Perhaps you have the ideal lifestyle photo and want to put your product there, but a plane ticket to Paris just isn’t in the cards right now. Well, with Photoshop you can save on the cost of airfare.
This process involves using layers and can get quite involved, but the results are just fun. Where would you put your products?
Over to you
Photoshop for Etsy can be a tricky game – that’s because Photoshop is a complex and powerful tool. If Photoshop is over your head, that’s ok. Just like doing your own photography, it will take time to become proficient. And there are always different, simpler, cheaper, and less powerful editors you can use.
When used correctly, Photoshop can add a creative flair to your shop to help you stand out from the crowd! Are you using Photoshop to market your Etsy products? Let us know all the creative ways you like to use Photoshop in the comments below. Now scroll back up and check out those tutorials!

2 replies on “6 Ways to Use Photoshop for Etsy to Get Noticed”
I really enjoyed this video and learned a lot. I use a less expensive photo editing tool called PaintShop Pro. It has some of the same features, and can be interchanged with Photoshop rather easily. Thanks for the video!
Thanks for sharing!